How to Build a Fully On-Chain Game Using Dojo Framework: Step-by-Step Guide
On-chain gaming has rapidly evolved from a niche experiment to a dynamic frontier for Web3 innovation. Developers are increasingly seeking frameworks that offer both flexibility and security, and the Dojo framework on Starknet is emerging as a top choice. Whether you’re a blockchain enthusiast or an experienced developer, understanding how to build fully on-chain games with Dojo can unlock new creative and economic opportunities. This guide covers the essential steps required to move from concept to deployment, leveraging the latest tooling and best practices in the ecosystem.

Understanding the Dojo Stack: Why Build Fully On-Chain?
The appeal of fully on-chain games goes beyond decentralization. By putting game logic, assets, and state directly on the blockchain, developers create experiences that are provable, transparent, and resistant to tampering. The Dojo framework, built for Starknet’s high-performance environment, provides a robust toolkit for this purpose, combining speed with composability through its Entity-Component-System (ECS) architecture.
Recent updates like comprehensive tutorials, improved CLI tools (Sozo), local development environments (Katana), and seamless frontend integrations have dramatically lowered the barrier to entry. The result? More creators are able to focus on innovative game mechanics while letting Dojo handle much of the blockchain complexity.
Step 1: Set Up Your Development Environment (Starknet, Cairo, Dojo CLI)
Your journey begins with preparing your local environment. This means installing Cairo (Starknet’s native programming language), setting up Starknet tooling, and initializing your project with the Dojo CLI. The CLI streamlines scaffolding new projects, managing dependencies, compiling Cairo contracts, and deploying them either locally or on testnets/mainnets.
- Cairo: Install via official docs or package managers; this is where you’ll write your game logic.
- Starknet CLI: Required for contract deployment and interactions.
- Dojo CLI (Sozo): Enables project creation, compilation, migration scripts, and more.
- Katana: Run a local Starknet sequencer for fast testing without gas costs or mainnet delays.
This setup ensures you have all necessary tools before moving forward. For detailed installation steps tailored to your OS or development stack, check out community guides or explore practical walkthroughs in resources like ‘Dojo by Example. ’
Step 2: Define Game Architecture Using ECS (Entities, Components, Systems)
The backbone of every Dojo-powered game is its adherence to the ECS paradigm:
- Entities: Unique identifiers representing players, items, NPCs, anything in your world.
- Components: Data structures attached to entities (e. g. , position coordinates, health points).
- Systems: Logic that operates over entities based on their components (e. g. , movement rules or battle mechanics).
This modular design not only enhances scalability but also makes it easier for other developers to compose new experiences from existing primitives. Begin by mapping out your game’s actors and their possible interactions; then translate these into entities with relevant components in Cairo code.
Coding On-Chain Game Logic in Cairo Following Dojo Patterns
The next step is writing your core gameplay logic directly in Cairo, ensuring it adheres to patterns established by both Starknet smart contract development and Dojo’s ECS modeling. You’ll define how assets are created/transferred, how rules are enforced on-chain without centralized servers, and how player actions affect global state transparently.
A practical tip: Start simple! Implement basic mechanics such as movement or resource gathering first. Use examples from repositories like ‘Dojo by Example’ as references while customizing logic for your own vision. This incremental approach lets you test assumptions early before scaling complexity further down the pipeline.
Once your core logic is in place, it’s time to ensure your game behaves as intended before exposing it to the broader Starknet ecosystem. This is where local testing and simulation come into play, leveraging Dojo’s modern toolchain for a robust development workflow.
Step 4: Test and Simulate Game Mechanics Locally with Katana
Katana acts as a local Starknet sequencer, enabling you to simulate transactions, validate contract behavior, and iterate on your game mechanics without incurring gas fees or waiting for mainnet confirmations. This step is crucial for debugging and rapid prototyping:
- Run Katana locally to create a sandboxed blockchain environment.
- Deploy your contracts using Dojo CLI (Sozo) directly to Katana.
- Interact with your game via CLI commands or scripts, mimicking real player actions.
- Leverage Torii, Dojo’s indexing engine, to monitor state changes and events in real-time.
This approach allows you to catch logic errors early and refine gameplay loops before going public. Many teams use these local simulations to demo new features internally or share progress with early community testers.
Step 5: Deploy Smart Contracts on Starknet Testnet or Mainnet
Satisfied with your local tests? Now you’re ready for deployment. Choose between the Starknet testnet (for further public testing) or mainnet (for production launches). The process typically involves:
- Compiling contracts with Cairo and Sozo CLI
- Migrating data schemas if needed as your ECS evolves
- Pushing deployments via Starknet CLI tools using secure wallets/keys
- Verifying deployments on block explorers or via Torii indexer for transparency
This transition marks the moment when your game becomes accessible to anyone on-chain, provable, permissionless, and open for new players or contributors. Remember that deploying on mainnet involves real assets and user funds; thorough audits are recommended before this step.
Step 6: Integrate Frontend and Onboard Players via Wallets and UI
The final piece is connecting your smart contracts with an engaging user interface. Modern Dojo projects often integrate wallet providers (like Argent X or Braavos) for seamless onboarding. Key tasks include:
- Building a web frontend, often using React, Vue, or Unity (with the updated Dojo Unity SDK supporting WebGL/desktop)
- Integrating wallet connections, allowing users to authenticate and interact securely with their in-game entities/assets on Starknet
- Displaying real-time game state updates, leveraging Torii’s indexing capabilities for instant feedback after every transaction
- Tutorials and onboarding flows: Help new users understand how fully on-chain interactions differ from traditional games
This holistic approach ensures that both crypto-native players and newcomers can participate without friction, unlocking network effects unique to blockchain-based ecosystems.
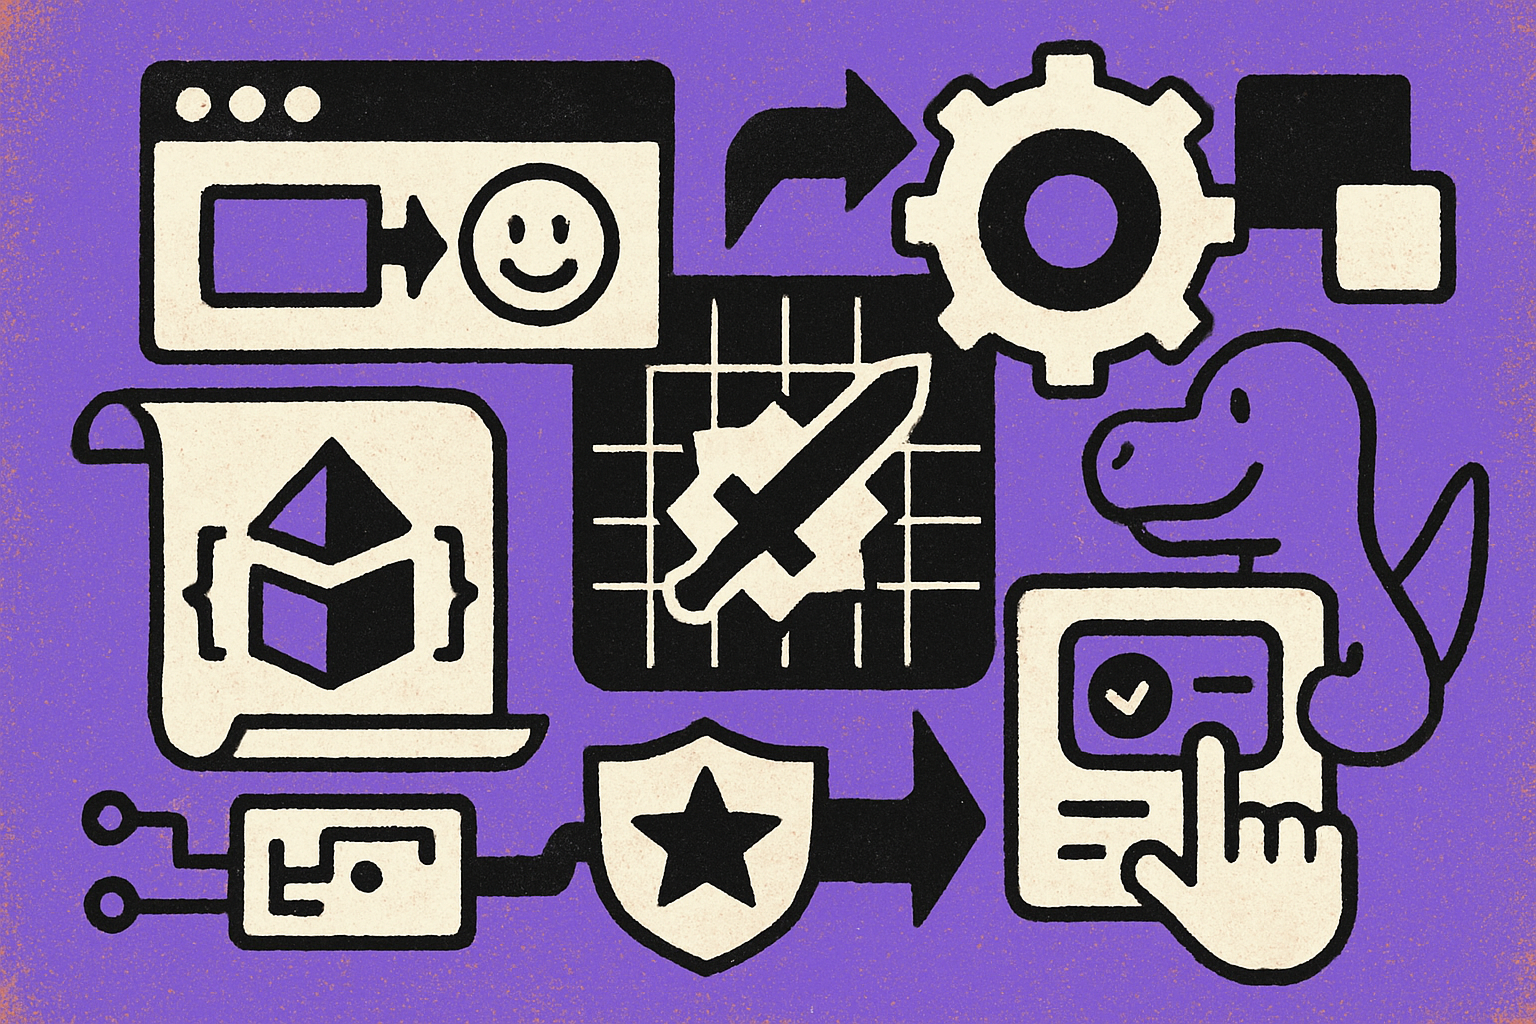
Build Your Fully On-Chain Game with Dojo: Step-by-Step Visual Guide


The Impact of Fully On-Chain Games Built With Dojo Framework
The combination of transparent rulesets, composable assets, and permissionless innovation is already giving rise to new genres, from autonomous worlds where player actions permanently alter history to collaborative economies governed entirely by code. As more developers embrace frameworks like Dojo, and as resources such as ‘Dojo by Example’ continue expanding, the barrier between player and creator blurs further.
If you’re ready to join this movement or want deeper technical dives into specific steps above, explore our related resources at How to Build a Fully On-Chain Game With Dojo: Step-by-Step Guide for Developers.